
Categoria: Power Tools

Marchio: BLACK+DECKER

Modello: LD120VA

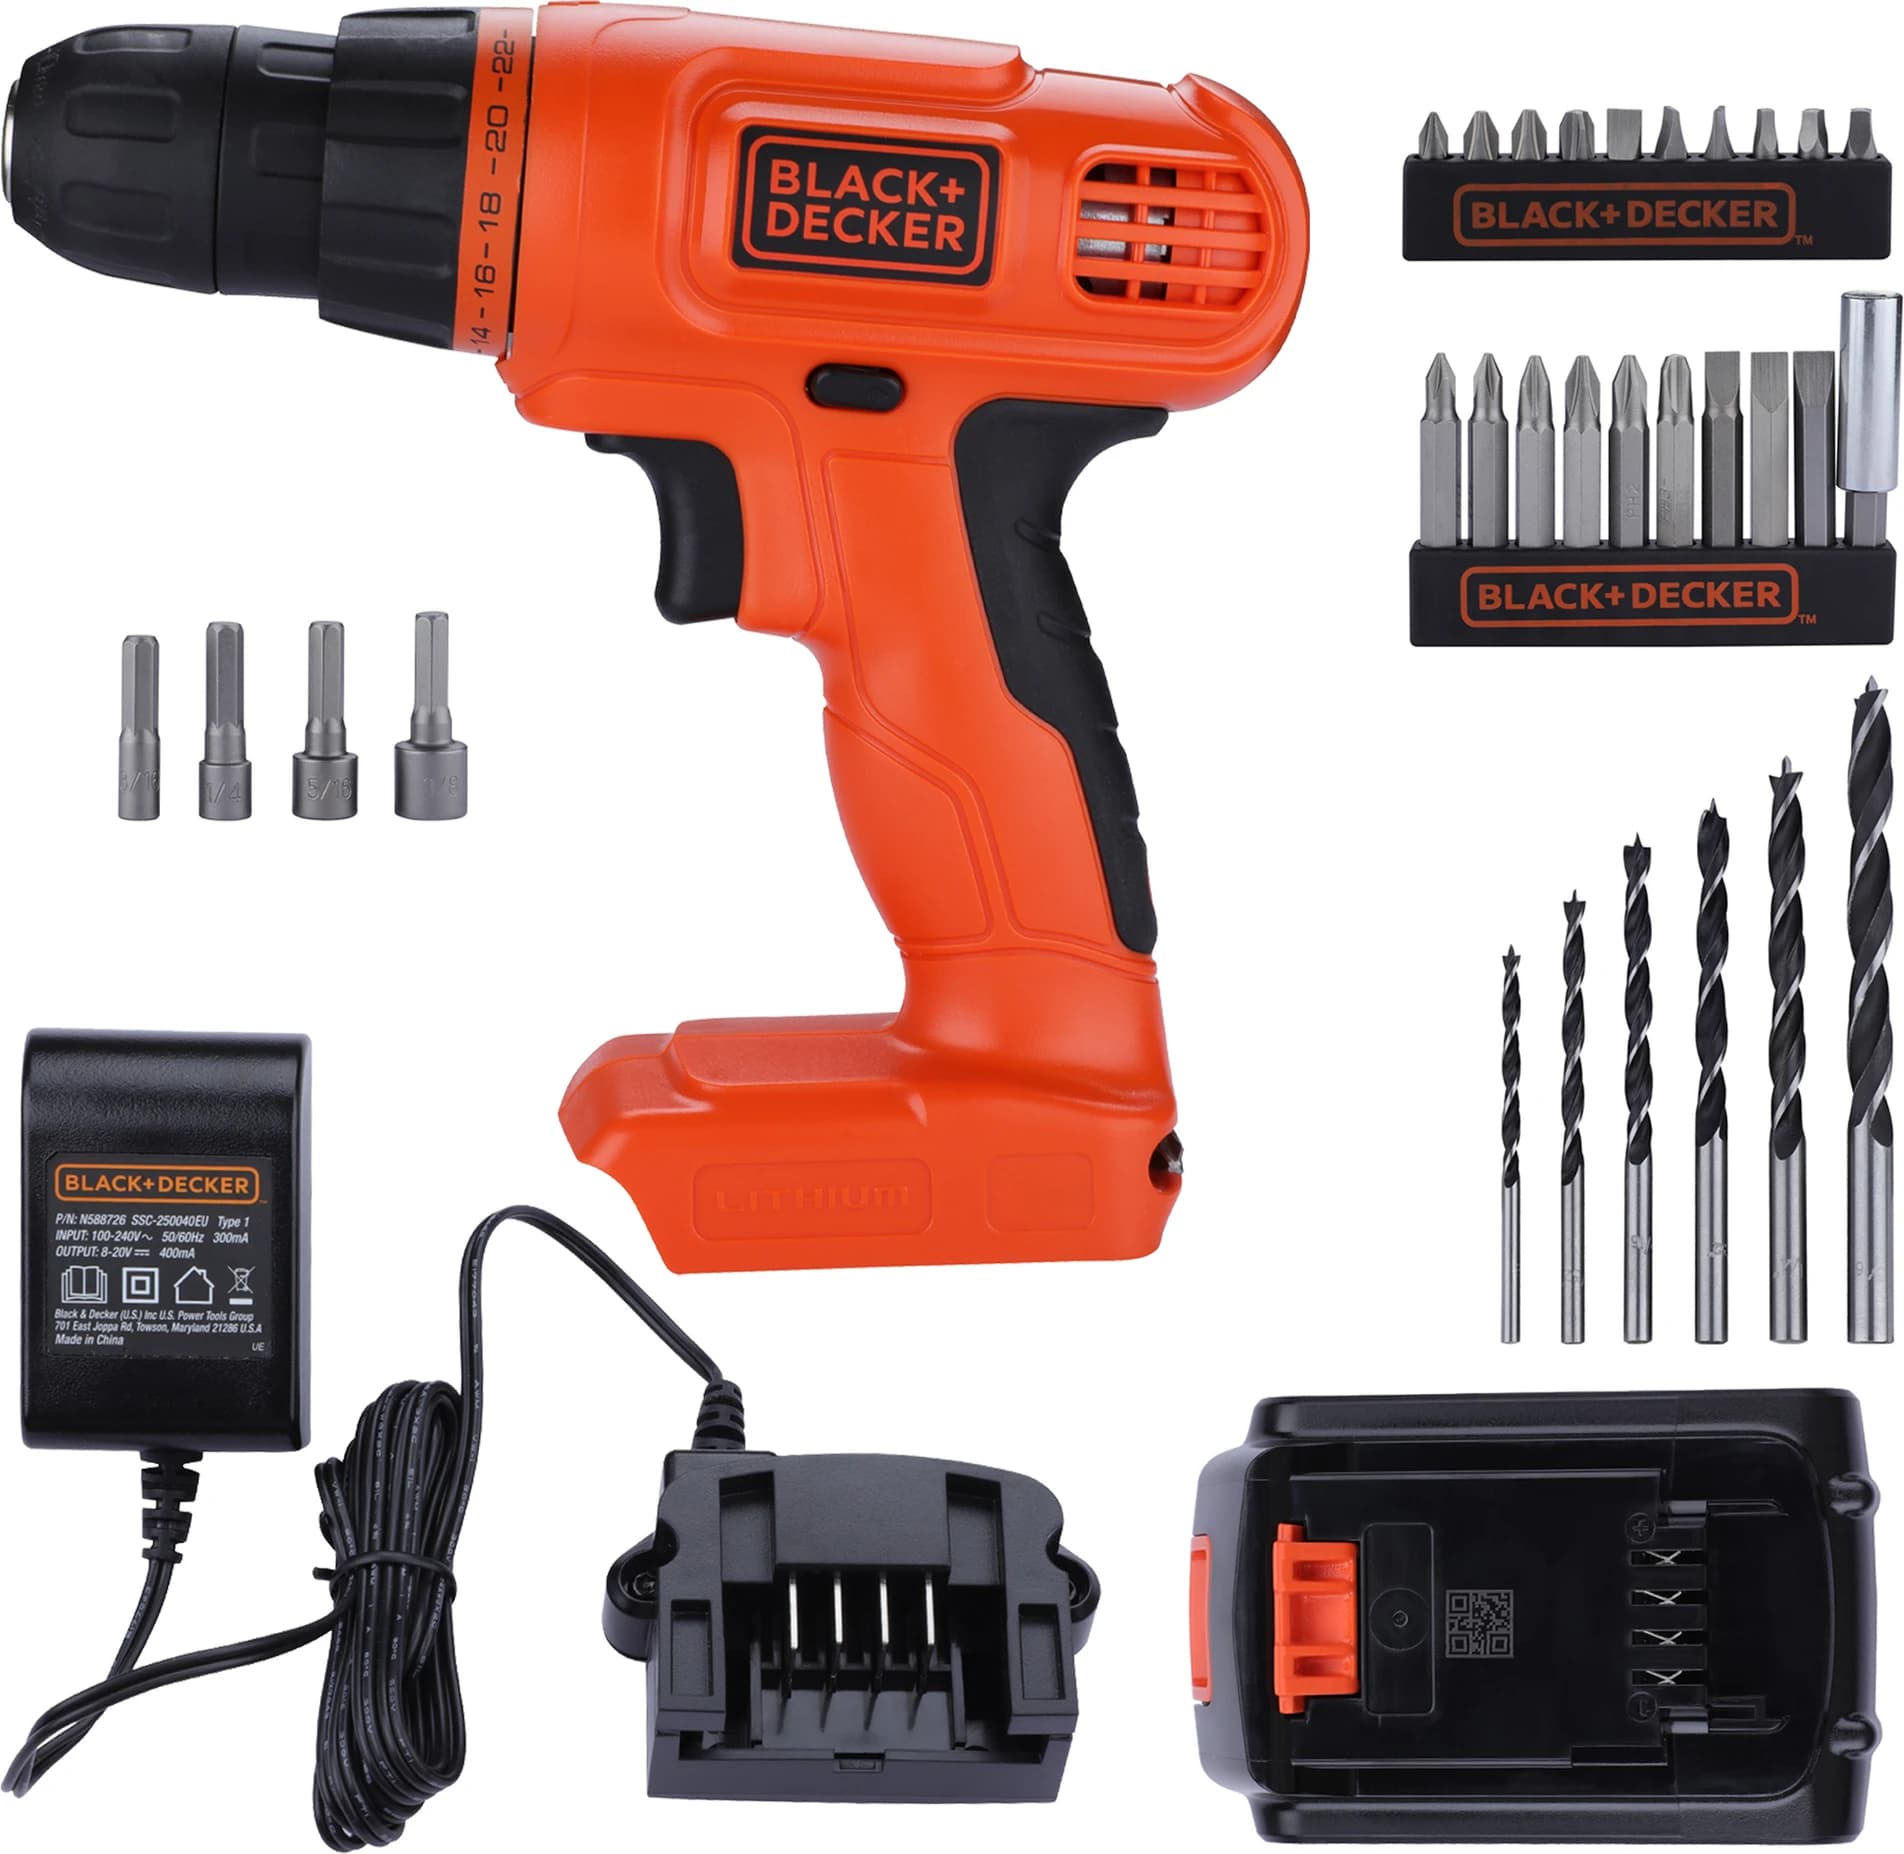
BLACK+DECKER LD120VA Repair Manual

This manual provides comprehensive repair and troubleshooting guidance for the BLACK+DECKER LD120VA 20V MAX* cordless drill/driver. It covers 16 distinct failure modes, detailed diagnostic procedures, parts identification, and safety warnings. The guide includes specifications for the battery system, charger, controls, and mechanical components, as well as step-by-step instructions to diagnose and resolve common issues such as motor non-response, battery seating problems, trigger malfunctions, and clutch or chuck failures.

$39.99

Ultimo aggiornamento Jul 31, 2026, 8:19 AM

Manual information

Informazioni su questo manuale

This manual provides comprehensive repair and troubleshooting guidance for the BLACK+DECKER LD120VA 20V MAX* cordless drill/driver. It covers 16 distinct failure modes, detailed diagnostic procedures, parts identification, and safety warnings. The guide includes specifications for the battery system, charger, controls, and mechanical components, as well as step-by-step instructions to diagnose and resolve common issues such as motor non-response, battery seating problems, trigger malfunctions, and clutch or chuck failures.

0% Reported Successful Repair

Get the Full Repair Manual — save $40–$50

Price

$39.99

Il manuale completo include

  • root cause analysis
  • tools needed
  • step-by-step repair procedure
  • diagrams
  • exploded views
  • post-repair checks

Anteprima indice

  • Detailed diagnostics for 16 distinct failure modes
  • Step-by-step troubleshooting procedures
  • Battery and charger compatibility verification
  • Trigger switch and reversing actuator inspection
  • Mode collar and clutch adjustment guidance
  • Keyless chuck operation and repair tips
  • Safety warnings and service boundaries
  • Parts list with buy/keep/no-buy recommendations

This preview shows only a portion of the complete repair manual. Purchase to access the full repair documentation, downloadable PDF and detailed repair procedures.

Riepilogo

Il trapano non mostra risposta di motor o del mandrino nonostante una battery carica e agganciata e un normale funzionamento del grilletto. Questa modalità di guasto indica una completa mancanza di trasmissione di potenza al mandrino.

Full repair guide includes

  • Root Cause Analysis
  • Required Tools
  • Replacement Parts
  • Step-by-step Repair Procedure
  • Safety Precautions
  • Verification Checklist

Riepilogo

Il battery non si inserisce completamente nell'impugnatura del trapano, non si aggancia saldamente o non si rilascia normalmente. Ciò può impedire la trasmissione di potenza e un funzionamento sicuro.

Full repair guide includes

  • Root Cause Analysis
  • Required Tools
  • Replacement Parts
  • Step-by-step Repair Procedure
  • Safety Precautions
  • Verification Checklist

Riepilogo

Il pacco battery non si carica; la spia del caricabatterie rimane spenta o mostra lampeggi rossi anomali indicando guasti di carica o problemi di temperatura.

Full repair guide includes

  • Root Cause Analysis
  • Required Tools
  • Replacement Parts
  • Step-by-step Repair Procedure
  • Safety Precautions
  • Verification Checklist

Full repair guide includes

  • Root Cause Analysis
  • Required Tools
  • Replacement Parts
  • Step-by-step Repair Procedure
  • Safety Precautions
  • Verification Checklist

Riepilogo

Il grilletto si blocca, non ritorna, si avvia in modo imprevedibile o la velocità a vuoto oscilla, causando un controllo della velocità non sicuro.

Full repair guide includes

  • Root Cause Analysis
  • Required Tools
  • Replacement Parts
  • Step-by-step Repair Procedure
  • Safety Precautions
  • Verification Checklist

Riepilogo

Il controllo direzionale avanti o indietro non si innesta, o la posizione centrale non blocca il grilletto, impedendo la selezione della direzione.

Full repair guide includes

  • Root Cause Analysis
  • Required Tools
  • Replacement Parts
  • Step-by-step Repair Procedure
  • Safety Precautions
  • Verification Checklist

Full repair guide includes

  • Root Cause Analysis
  • Required Tools
  • Replacement Parts
  • Step-by-step Repair Procedure
  • Safety Precautions
  • Verification Checklist

Riepilogo

La manica del mandrino non ruota sufficientemente per aprire o chiudere le ganasce o accettare una punta dritta normale, impedendo l'installazione o la rimozione della punta.

Full repair guide includes

  • Root Cause Analysis
  • Required Tools
  • Replacement Parts
  • Step-by-step Repair Procedure
  • Safety Precautions
  • Verification Checklist

Riepilogo

Il mandrino si apre e chiude normalmente, ma la punta scivola, si stacca o viene espulsa durante il lavoro normale, indicando scarsa ritenzione della punta.

Full repair guide includes

  • Root Cause Analysis
  • Required Tools
  • Replacement Parts
  • Step-by-step Repair Procedure
  • Safety Precautions
  • Verification Checklist

Full repair guide includes

  • Root Cause Analysis
  • Required Tools
  • Replacement Parts
  • Step-by-step Repair Procedure
  • Safety Precautions
  • Verification Checklist

Full repair guide includes

  • Root Cause Analysis
  • Required Tools
  • Replacement Parts
  • Step-by-step Repair Procedure
  • Safety Precautions
  • Verification Checklist

Riepilogo

La punta si blocca, causando l'arresto di motor o una torsione brusca del trapano nelle mani durante il lavoro, indicando sovraccarico o disallineamento.

Full repair guide includes

  • Root Cause Analysis
  • Required Tools
  • Replacement Parts
  • Step-by-step Repair Procedure
  • Safety Precautions
  • Verification Checklist

Riepilogo

Con il battery rimosso e senza punta installata, il mandrino non gira agevolmente a mano o sembra bloccato, indicando inceppamento interno o danni meccanici.

Full repair guide includes

  • Root Cause Analysis
  • Required Tools
  • Replacement Parts
  • Step-by-step Repair Procedure
  • Safety Precautions
  • Verification Checklist

Full repair guide includes

  • Root Cause Analysis
  • Required Tools
  • Replacement Parts
  • Step-by-step Repair Procedure
  • Safety Precautions
  • Verification Checklist

Full repair guide includes

  • Root Cause Analysis
  • Required Tools
  • Replacement Parts
  • Step-by-step Repair Procedure
  • Safety Precautions
  • Verification Checklist

Riepilogo

Lo strumento, il pacco o il caricatore diventano insolitamente caldi, o 1. Interrompere il lavoro, rimuovere il battery e raffreddare tutti gli elementi su una superficie non infiammabile.

Full repair guide includes

  • Root Cause Analysis
  • Required Tools
  • Replacement Parts
  • Step-by-step Repair Procedure
  • Safety Precautions
  • Verification Checklist

FixBeforeBuy

Trusted repair guides, error codes, symptoms, and manuals before you replace your equipment.

Navigation

For technicians

Need the full step-by-step manual? Purchase securely on FixBeforeBuy and download your PDF after Stripe payment.

© 2026 FixBeforeBuy. Repair smarter before you buy.